
How to Upcycle With These DIY Kids Projects

While we’ve all heard about recycling, in 1998, a more modern term for it, known as upcycling, has come into use. Coined by Belgian-born Gunter Pauli, this term is now commonplace. In today’s environmentally-conscious society, we even encourage young children to try it out.
Many schools, homes, and even community centres promote upcycling through DIY kids projects. Not only do they get to do fun, artistic, and creative stuff, they also learn more about the environment. It’s also a great way to introduce significant topics like global warming.
Canada is one of the worst countries that produces garbage worldwide. It’s every adult’s responsibility to protect the environment. Despite this, starting the younger generation early is for the best.
DIY kids projects with recycled crafts are a sure-fire way to get them early. Learn more about how to upcycle with your kiddos today!
Upcycling or Recycling?
Both activities make use of our trash and help reduce our carbon footprint. However, upcycling isn’t only a fancy new term to throw around. It’s a less complicated and more creative approach to handling our recyclable trash.
To further explain, take, for example, a plastic bottle. Recycling is its own science, but it’s about taking that bottle to the right place so people can reconstitute it. In the end, it might be another plastic water bottle or part of a plastic-particle board hybrid.
Upcycling, on the other hand, is much simpler than that. The used plastic bottle is set aside for cleaning. It is then turned into a fun garden pot or even a pencil case.
All you need is some creativity and a couple of art supplies.
This is why upcycling is also a wonderful activity for those looking for a new hobby. Once you get started with upcycling, the possibilities are endless. Especially now that there is a multitude of tutorials available online.
Why not start a small business that prides itself on being completely upcycled? What might start as a small project can turn into a side-hustle or even a full business. Many small entrepreneurs today thrive while being sustainable.
The more popular upcycled items are often clothing, bags, and accessories. So don’t mistake upcycling for kid’s play only; even adults can get into it! Your DIY activities with the kids might turn into a new hobby.
5 DIY Kids Projects You Can Try at Home
Kids love nothing more than trying out new things. Despite this, it’s best not to get way ahead of yourself if you’re new to upcycling. It’s best to start small with some of these fun kids’ projects.
These minor projects need a lot of adult supervision. Make sure to guide your kiddos to prevent any injuries. That said, you don’t need anything more complicated than a glue gun for DIY upcycling.
These activities will not only exercise your child’s creativity, but they’ll also encourage them to reduce waste. Raise kids that are environmentally conscious while creating life-long memories. Here are 5 of the most creative DIY projects for you and the kids.
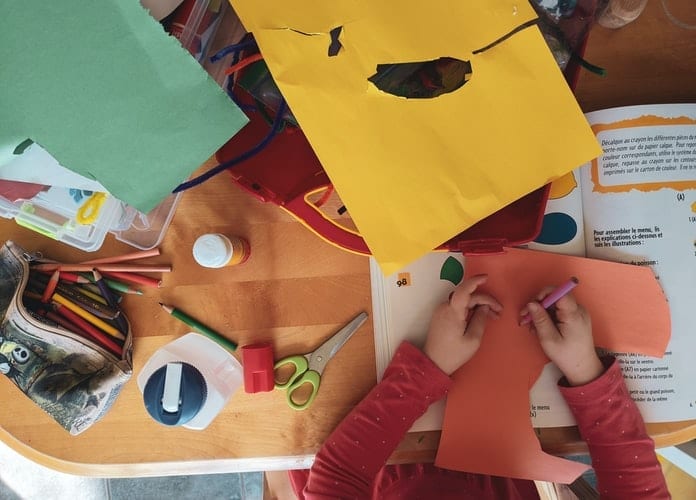
1. Cardboard Organizer
This cardboard organizer is one of the simplest projects you can try. It’s perfect for the kids’ tiny desk spaces or play spaces. It’s ideal for holding crayons, pencils, and crafts items.
Prepare the following materials:
- Toilet paper or paper towel cardboard tubes
- flat cardboard
- Colourful paper
- Craft knife
- Scissors
- Glue, glue gun, and glue sticks
- Round template (saucer or small plate)
With the craft scissors, cut the leftover cardboard tubes into different sizes. The standard length of a pencil is about 7″, so you can cut a 5″, 4″, and 3″ tube. The next step is taking your colourful paper and wrapping them around the tubes.
Check how much of the paper you need. It should wrap around the tube with a little overlap. Trim it to the right size, and glue it onto the tubes.
Using the round template, draw a circle onto a flat piece of cardboard, or you can also try other shapes if you want. Note that the final shape should be big enough to fit all three cardboard tubes. This will serve as the base of your organizer.
Take the remaining colourful paper and trim and glue it to the size of the base. Finally, stick the tubes onto the base with the glue gun and glue sticks and let them dry completely. Ensure to do this for your kid, as it’s dangerous to let them handle the glue gun.
Voilà, now you have a cute cardboard organizer.
2. Meditation Bottle
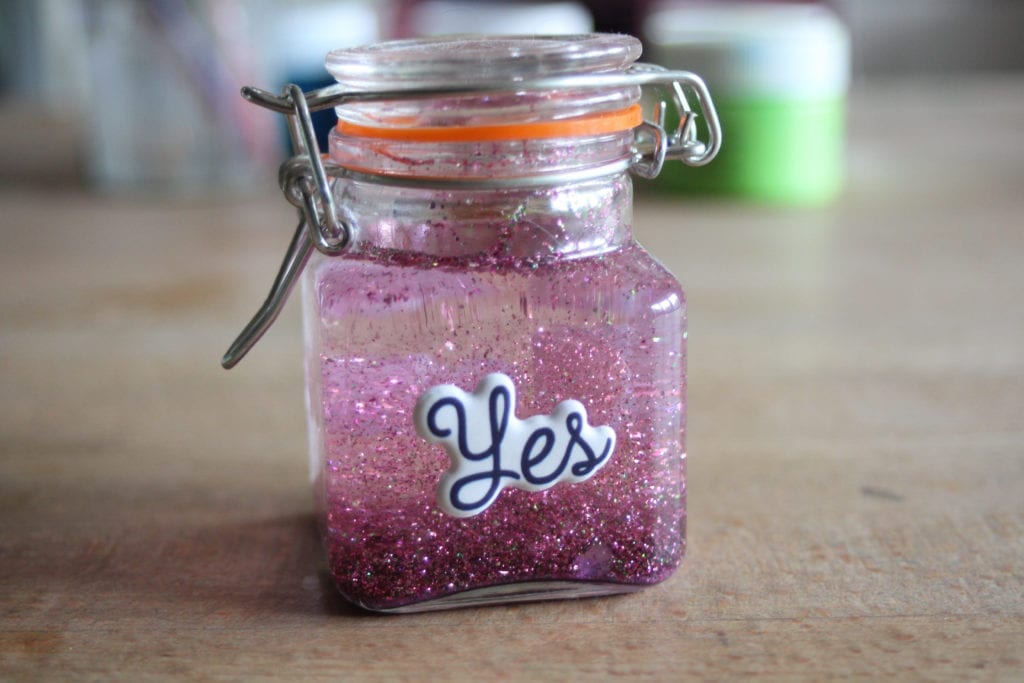
Plastic is one of the main contributors to our overall trash globally. Upcycle them in a fun way by creating a meditation bottle. It’s called as such since playing and looking at one helps calm and relax kids.
Capture the sea, or recreate the magic of a unicorn sky with plastic bottles. For this fun project, you will need:
- Plastic bottles
- Vegetable oil
- Water
- Funnel
- Food colouring
- Glitter
- Small beads and charms
To start, make sure you do a thorough clean of the water bottle. It’s best to strip the labels off, so the kids can see through the bottle on all sides. Take into account the size of the bottle and measure 1/3 or 1/2 the amount of oil.
Add a few drops of food colouring to the oil. Use some blue food colour for the sea and pinks or purples for the unicorn sky. Add in some charms or beads, making sure they’re small enough to fit into the bottleneck.
You can choose seashells, starfishes, or dolphins for a sea theme. If you want a cloudy wonderland, use unicorn charms, letter beads, and cotton.
Add some glitter to the water, and use the funnel to fill at least half of the bottle with glitter water. Add your colourful oil to the bottle to complete your meditation bottle.
Glue it shut for good measure. With different densities, the oil and water won’t mix. Apart from the meditation bottle’s soothing benefits, it’s also a science lesson.
3. DIY Pop Bottle Jetpack

Who says props and costumes are only for Halloween? Enriching a child’s imagination is crucial to their well-being. While this jetpack only works through imagination, it’s still definitely one your kid would love.
For this jetpack project, you’ll need:
- 2 two-litre pop bottles
- 1 metre 16″ elastic
- Metallic paint
- Flat, sturdy cardboard
- Ruler
- Felt
- Stapler and staples
- Glue gun and glue sticks
Start by cleaning each of the two-litre pop bottles well, and take off the label. You can choose any pop bottle, but certain bottles have cooler-looking textures. Once dry, paint them in a metallic colour (silver works best), but you can also ask your kid for their preference.
Measure your kid’s back, and cut a sturdy piece of cardboard that will fit their back. Paint this the same colour as the bottles.
When it dries, attach the bottles onto the cardboard with the glue gun. Using the felt, draw and cut out flames (use red, orange, and yellow or even try blue flames).
Staple them together, and hot glue them into the bottle opening. Finally, with the 16″ elastic band, measure a comfortable length that would fit your kiddo. Add an extra inch or two to make sure it fits snug but not too tight.
Staple this onto the cardboard opposite of the bottles. Now you have a pop bottle jetpack! Perfect for Halloween or everyday play.
4. Cereal Box Puppets and Theatre
If you have a busy household with kids, going through cereal boxes is a common occurrence. It’s more of a surprise to find the box with cereal than without! Don’t worry, though; those boxes are definitely handy for this next project.
What you need:
- Cereal boxes
- Craft scissors
- Glue or tape
- Colouring materials
- Wooden popsicle sticks
- Coloured paper
- Googly-eyes
The puppet theatre theme you’re going for depends on whatever story you want to tell. Design your characters based on your kids’ imagination. Cut up your cereal boxes and use the unprinted side for your puppets.
Use the colouring materials, coloured paper, glitter or glue, and fun designing the puppets with your child. When finished, glue or tape them onto popsicle sticks. For added fun, stick some googly-eyes on your puppets.
Now all you need is your puppet theatre. Make this using a large cereal box. Cut a rectangular hole in the middle leaving about 2″ on all sides.
Position the box horizontally and cut another 2″ slot on the bottom. This will serve as the slot where you slide the puppets in. Design the theatre depending on the theme.
With the coloured paper, try making trees, grass, or stone towers for castle or jungle story themes. Make sure everything is well-glued onto the cereal box.
You can also make some waves for under the sea theme or planets for space.
Let your child’s imagination be the limit. Soon enough, you’ll run out of cereal boxes to upcycle.
5. Milk Jug Bird Feeder
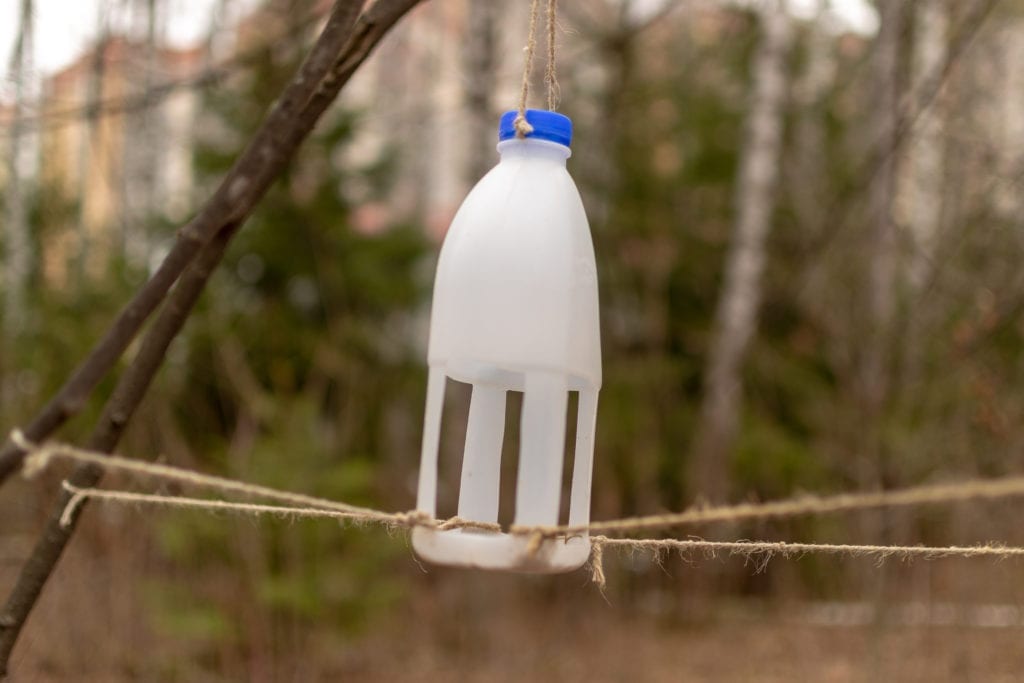
Milk jugs are some of the most underused items which make for great arts and crafts. You can turn them into mini-greenhouses or even tiny dollhouses. One creative thing you can use old milk jugs for is a DIY bird feeder.
It’s a fun way to get the kids involved in the outside world, especially with their local environment. Some of the things you’ll need for this DIY project are:
- Milk jugs
- Box cutter
- Paint
- Chopsticks or a similar wooden dowel
- Sandpaper
- Sturdy twine
- Birdfeed and seeds
Clean the milk jugs well to remove the smell of spoiled milk. With the box cutters, cut a round hole along the flat sides of the jug. Make sure you sand down any sharp or uneven sides.
About 1″ from the bottom of the holes, you cut out, mark, and punch out smaller holes. Slide the chopsticks or wooden dowels in these holes to serve as a bird perch.
At the bottom of the jug, make tinier holes for drainage. They should be smaller than the birdfeed.
You need them to stop your birdfeed from soaking. Once done, you can now decorate your birdfeeder to your liking. Get as creative as you’d like, and encourage your child to be artsy.
Finally, wrap the twine around the top of the bottle and secure it well. Put in the birdfeed and seeds, and then hang your new birdfeeder in your garden. Soon enough, many birds will come to enjoy their upcycled birdfeeder.
Make Upcycling Your Go-To
Many of us grew up hearing “reuse, reduce, and recycle,” but only a handful know its true meaning. Wish cycling can sometimes do more harm than good. Let’s work towards a future where reuse, reduce, and recycle and upcycling are the norm.
It’s also something that future generations adhere to. By making upcycling a fun activity at school and home, kids are more likely to take on the habit. Besides, there’s always something extra special about things we create ourselves.
It also helps grow the imagination which is crucial in every child’s development. Additionally, motor skills and creativity are also strengthened. Involving your child in DIY benefits the environment is vital in helping them contribute to their community.
A more sustainable future is something we should all wish for. Help secure tomorrow for the next generations. As small and simple as these DIY projects may seem, their impacts are tremendous.
It’ll only continue to blossom from thereon. Next time, skip the screen time and do some upcycling with the kids.
DIY Upcycling Is Fun For Everyone
Here are five fun DIY kids projects to teach them about upcycling. Spending time with your kiddos is crucial to their growth and development. Arts and crafts are a great way to make cherished childhood memories, and upcycling is a great method.
Reusing recyclable items teaches kids the value of saving the planet and creativity.
Believe it or not, there are tons more ideas on using upcycling to make fun and useful things. From fun activities with the kids to grown-up projects, Sage Hill Bottle Depot has you covered. Our blog is full of ways to help your local environment, and you can always contact us for more information.
Related Posts

Community Recycling
Lewisburg Looking for the best bottle depot near Lewisburg in greater Calgary? Sage Hill Bottle Depot is the closest, cleanest,…
Community Recycling
Esker Ridge Looking for the closest bottle depot near Esker Ridge in Calgary? Sage Hill Bottle Depot is your go-to…
Community Recycling
Morraine Looking for the closest bottle depot near Morraine in Calgary? Sage Hill Bottle Depot is your go-to spot for…
